Showing posts with label allergies. Show all posts

Thursday, April 12, 2012

Cooking Lessons - Brownies!

Today I perfected the egg free, milk free brownie. This is no small feat, given that I have had some added challenges in terms of new food allergies from Nathan's latest round of testing. But, I will not digress, you can read about it here if you want to learn more. These brownies are yummy and dare I say, healthy? Made from garbanzo bean flour and prunes, with quite a bit of sugar, they are probably healthier than any brownie you have ever eaten before. [While food allergies present lots of challenges in our life, one thing is for sure, they have the added benefit of challenging us to eat much healthier.]

Start with 6 ounces of unsweetened chocolate, broken up into small pieces. Add to it 1/2 cup of vegetable shortening.

Microwave this in a bowl on 50% power in your microwave for about 45 seconds, then stir, and microwave again for another 30 seconds.

While the chocolate and shortening is melting, grab some flour. Whats that you say? This isnt the white flour that I usually bake with? Well, yes, you are very observant. THis is in fact wheat free flour to satisfy Nathan's new wheat allergy. But, its healthy! Made from garbanzo beans!
Spray a 8x8 baking dish with cooking spray.
Lightly flour the pan after spraying it. I got a little carried away here, this is not very lightly floured. Eh.
Put 2 cups of sugar in a bowl.
Add 8-10 oz of baby food prune puree to the sugar. [These brownies are delicious AND keep you regular.]
Remember the chocolate you were melting? Grab it from the microwave, stir it around, make sure its nice and liquified.
Add it to the sugar and the prunes. Throw in 1 tablespoon of vanilla extract.
Add 1 3/4 cups of flour.
Add 1/2 teaspoon xanthan gum. Add 1 tablespoon of baking powder. See this baking powder here? It contains CORN SYRUP solids. Upon discovering this I went to three grocery stores and could not find any baking powder without corn. Im on a mission now, and in the meantime, Im using it. Sigh. A kid's gotta eat.
Mix everything together really well. The mix comes out a bit think I think, so I added a few tablespoons of rice milk to it to thin it just a little and have it spread in the pan better.
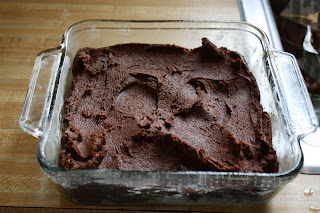
Bake at 325 F for 50 minutes or so. Cool and enjoy!

Tuesday, April 10, 2012

The Good, The Bad, The Ugly Food Allergies

I received Nathan's latest set of allergy test results in the mail yesterday. There was good news and then a whole lotta bad news. These are the results:

The Good:

Nathan is no longer allergic to MILK!!!! Hooray. This weekend we are going to do a milk challenge with him in our home. Its one thing for a test to say he is not allergic, its another to actually start feeding him milk and all its products. So, we will screw up all our courage and have epi pens and Benedryl on standby and give him a tablespoon or two of milk and see what happens. Fingers crossed. This opens up a HUGE amount of food choices for Nathan. Yogurt, cheese, butter to name the most exciting of the food possibilities.

The Bad:

The amount of foods that Nathan is allergic to, actually increased, alot.

The Ugly:

The top allergen remains dog dander. Its actually so high that the pediatrician circled the results and in bold notation instructed us to avoid all contact. Its in the "V. High" category.

The list of Nathan's current food allergens now includes: sesame seed, rape seed (canola oil), walnut, pumpkin, pistachio, pine nut, macadamia nut, pecan, hazelnut, coconut, chestnut, almond, corn, egg white, peanut, soybean, walnut and wheat. Peanut and soy topped the charts in terms of severity of the food allergens.

The most devastating of these new allergens is the wheat. And the combination of wheat and corn is nearly impossible for baking or cooking anything other than whole foods. And because Im feeling a bit defeated Ive decided that we need to enlist some professional help at this point, a dietitian who specializes in food allergies. Im on the hunt for one now. In the meantime Ive sought out some rice flour and garbanzo bean flour that Im going to start baking and cooking with. And Im doing lots and lots of reading online.

Friday, April 6, 2012

Cooking Lessons - Better Than Buttermilk Pancakes

This is my tried and true pancake recipe for Nathan. After trying many different concoctions and having just as many failures, I found this one and rejoiced!!! Its from the Urban Vegan recipe book. Ive altered it slightly. These pancakes freeze and reheat in the microwave pretty well, so I make up big batches of them for Nathan once a month. This recipe makes about 40 small 2 inch round pancakes.

Start with 1 cup of white flour and 1 cup of whole wheat flour. I feel good knowing that at least half the flour is whole wheat. Ive never tried the recipe using entirely all whole wheat flour though Id like to get there with Nathan's tastes eventually.
Add 2 cups rice milk. Add 3 teaspoons of baking powder. Ive found that baking powder is the key to the success of pancakes recipes with no eggs or milk. Add 1 teaspoon of vinegar, a pinch of salt.
Add 6-8 tablespoons of natural applesauce.
I also add dairy free mini chocolate chips to the mixture, because, chocolate chip pancakes are the best.
YUM!
I cook the pancakes on my electric griddle, have I mentioned how much I use my griddle? Anyway I cook them until a slight bit crunchy and browned, because I found they freeze better this way and dont get slimy when you microwave them to reheat them.
After they are cooked I freeze them on cookie sheets and then store them in a freezer ziploc bag.

Thursday, April 5, 2012

Cooking Lessons - Chicken Patties

I decided to forgo the usual chicken nuggets this month and change it up a bit. Chicken patties! In an attempt to make them even more healthy I also stuck some veggies in with the chicken. The results were amazing. Nathan gobbled them up and asked for more. Here is the recipe, it makes about 20, 3 inch round patties, 1/2 inch thick.

I had some leftover carrots and celery in my fridge so thats what I chose for veggies. Im sure you could use zucchini or squash or anything that you can dice up really fine and mix into the patties.

I peeled my carrots.
And then chopped the carrots and celery really fine with my amazing Pampered Chef chopper. Seriously, I cant live without this chopper, it is such a time saver. I chopped 1/2 cup of celery and 1 cup of carrots.
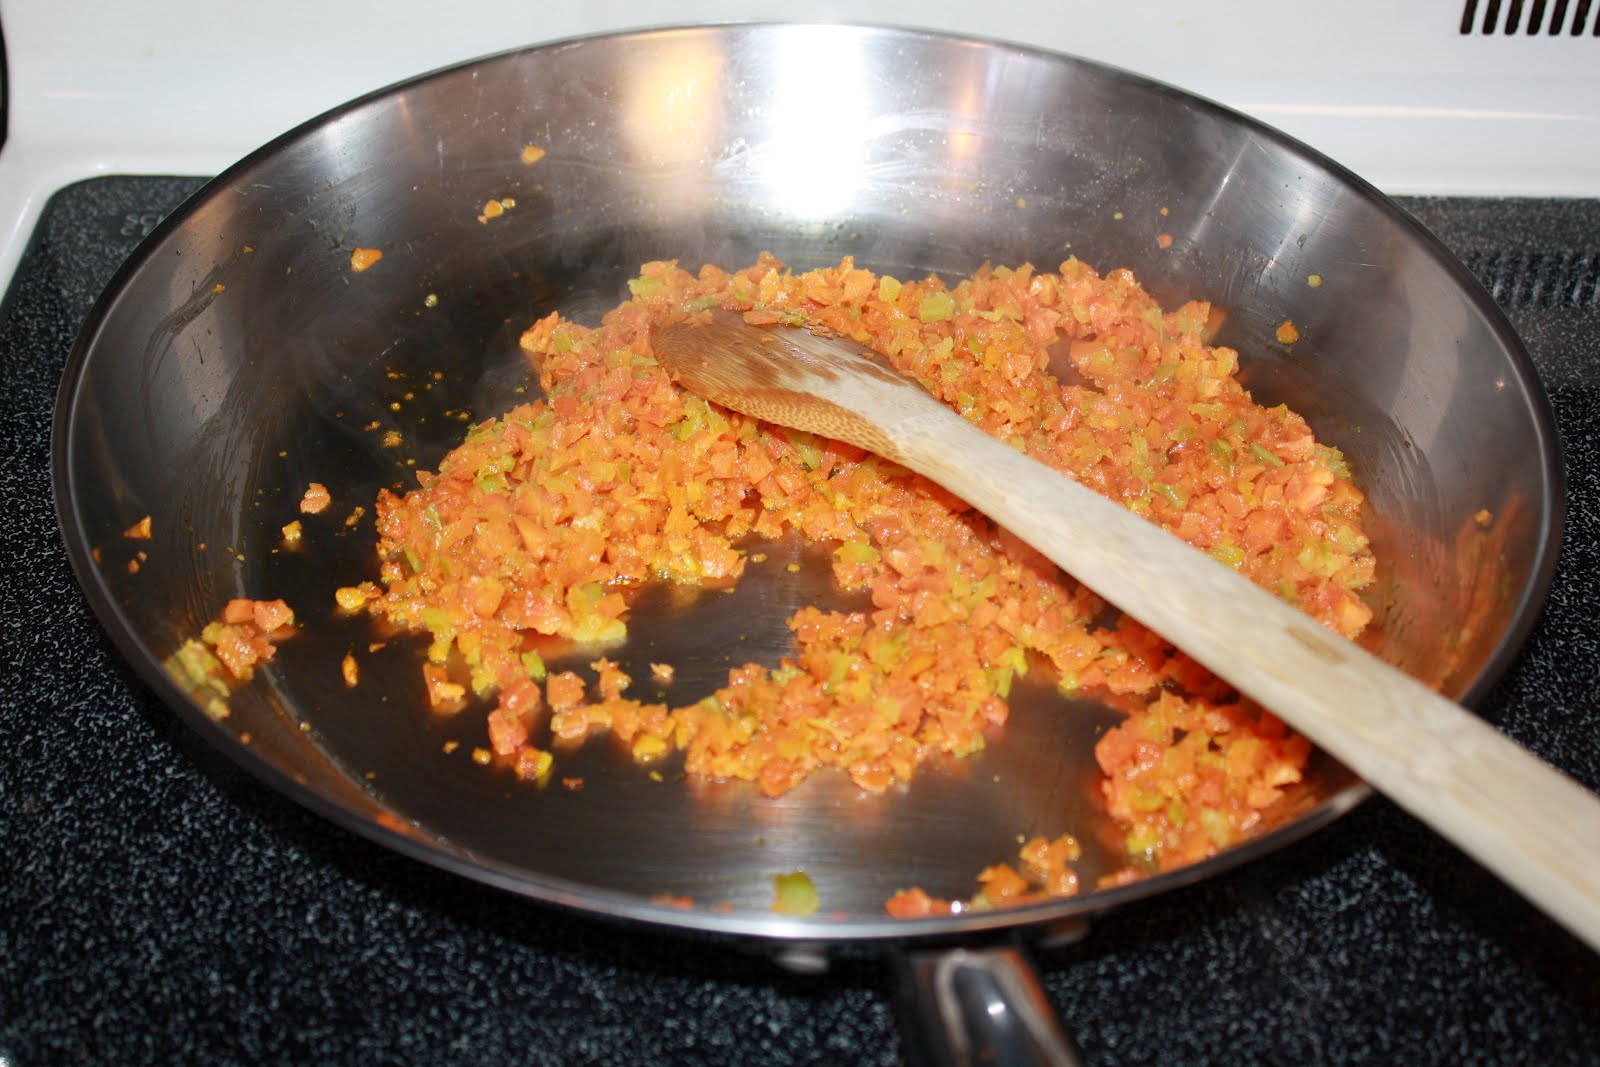
I added some dairy free margarine to a skillet and cooked the carrots and celery together, until really well done. Nathan is a texture kid, and the last thing I want is for him to be finding finely chopped hard pieces of celery and carrot from his patty while he eats and spitting it out onto his plate. Therefore, the more cooked the better.
Add the cooked carrots and celery to a bowl with about 1 cup of bread Crumbs. I used Panko this time because its what I had. Make sure your Panko is egg and milk free. Kikkoman brand is.
Add ground chicken, I used about 2 lbs for the recipe. You could use turkey or ground beef too.
Add the equivalent of two eggs in egg replacer to the mixture. Be sure to mix the egg replacer prior to adding it to the chicken. Egg replacer is a tricky substance. Ive found that proper technique is essential for it to "work" in the recipe. I use very warm water to be added to the egg replacer powder because I find that it mixes better this way. Then I stir, stir stir until all of the lumps are out, then I let it sit for a good 5 minutes to get frothy. Then I add it to my recipe.

Add salt and pepper. I also added onion salt and garlic powder for more flavor. Im hoping Nathan will start growing his taste buds a bit with some actual flavors in his foods. Onion and garlic are a good start. I just added a pinch or two of each. Mix everything together well. Form patties with your hands.

I cooked my patties on my electric skillet which I love, love, love. I got 10 of these patties on there at a time and still enough room to flip them! Cook them until browned on each side. I only lightly brown mine, because Nathan is a texture kid, and he doesnt like really browned crunchy patties. But, the patties werent cooked through. So, then I popped the patties into the oven at 375 for another 5-10 minutes to bake through.
I cooled the patties and then froze them. Nathan can eat two patties a day (in addition to all his other foods) so these will probably only last me two weeks.

Saturday, March 31, 2012

Cooking Lessons - Thin Mints Recipe

I came across a website with a vegan thin mint cookie recipe and was intrigued. I tried it out today, with some modifications. The cookies came out delicious. Its definitely going to be a recipe that I add to my rotation of cookies for Nathan. Even Justin tried one and gave them two thumbs up, and he is pretty particular to anything that is egg and milk free. Evan didnt like them, but, he doesnt like mint at all, and these cookies, even with the modifications are very minty. I might be tempted to even half the mint extract again the next time I make the cookies, they were very strong mint flavor!! The recipe as stated here yielded 38 2 inch diameter round cookies. If I were making the recipe again, Id double the entire thing and freeze half the dough for later use.

Start with 1 1/4 cups of flour.
Add 1/2 cup of cocoa powder.
Add 1/4 teaspoon of salt and 1/4 teaspoon of baking soda.
Mix well. The actual recipe calls for pulsing in the food processor, but, I dont have a food processor and didnt think it was necessary anyway.
Add 3/4 cup vegan margarine. I use Fleischmann's UNSALTED. For some reason the salted package contains milk. So, if you want these to be dairy free, dont use anything but the UNSALTED brand. I softened my vegan margarine for about 20 seconds in the microwave before I added it. Vegan margarine is so soft to begin with that it almost is not necessary to soften it at all.
Add 3 tablespoons of rice milk. I guess you could use soy milk as well, but, since Nathan is allergic to soy, we stick with the rice milk. This is our favorite rice milk, and one of the cheapest Ive found.
Add 1 teaspoon of pure vanilla extract and 1/4 teaspon of peppermint extract. I cut the peppermint in half for this batch, and like I mentioned above, the cookies were still VERY minty.
Mix all the ingredients together well, I did this with a spoon until everything was pretty well blended and then I just used my hands.
Eventually you get dough that looks like this:
Wrap up the dough and put it in the fridge for about an hour. Roll out the dough into small balls and flatten them with your hands into 1 1/2 inch rounds. This is very messy and sticky. The dough sticks to your hands like crazy. Bake in the oven at 350 F for about 12 minutes, give or take a minute. Your cookies will come out like this.
While the cookies are cooling you can make the coating for the top. Use 1 cup of semi-sweet chocolate chips (dairy free of course). Add 1/2 tablespoon vegan margarine. Melt this. I microwaved mine slowly, stirring every 20 seconds or so until it was just melted. [The original recipe called for adding peppermint to the coating too, which I did not do, because I could already smell how strong the cookies were, and may or may not have sampled a cooling cookie.]

Once the cookies are fully cooed, put a dollop of coating on each and with the back of a spoon spread it evenly on the top of the cookies.
YUM!
Now try not to eat the whole batch before Nathan wakes up from his nap :)

Friday, March 30, 2012

Cereal!

With food allergies, its the little things that sometimes brighten my day. Like today when I was doing our "allergy" food shopping at Hannafords and found cereal for Nathan! I have searched the cereal isle time and time again while out grocery shopping and have never been able to find one that doesn't contain corn, meal or syrup. Today I stumbled upon Puffed Rice cereal that contains nothing but puffs of rice. No sugar, no color additives, preservatives, and most importantly no corn. I was delighted and brought it home to promptly try out on Nathan. Being that its just rice, I was figuring it might be a hard sell. So, I popped that bag right into his brother's Rice Krispies box and viola, instant excitement for cereal! I added a bit of rice milk in a bowl to the puffs and handed him the spoon and told him to dig in. I also told him that he could keep the box in front of him while he ate because one of the best parts of eating cereal is reading the box while you eat. "Nate-Nate read and eat?" he asked. Oh yeah buddy, welcome to the world of cereal.

And eat he did!!!!
And eat...
And eat...
He was one happy kid. Wait until tomorrow when I add some fresh blueberries to his cereal - its going to BLOW HIS MIND.
Today was an allergy-win day!!!

Sunday, March 4, 2012

Cooking Lessons - Chicken Nuggets

I have yet to find a chicken nugget that Nathan can eat. Aside from the egg and milk typically in them, CORN seems to lurk in the form of corn syrup and corn meal in all of them. So, Ive been forced into making my own for Nathan. Here is how I do it.

I make these in large batches and freeze them, because they are time consuming and not so fun to make on demand. For this batch I used 6 chicken breasts. In total with setup and clean up it took an hour and a half and yielded 90 nuggets.
I cut the chicken breast into 1-2 inch pieces with kitchen scissors.
I mix up some Ener-G egg replacer in a bowl according to the package directions. Ive mentioned this before, but, it needs to be said again, not all egg replacers are the same. Ener-G is the only one I have found with out corn solids in it. I made up the equivalent of two eggs for the nuggets.
I added a cup of rice milk to the egg replacer and mixed it in a bowl.
I got some Panko crumb. Be careful here, bread crumbs or Panko are very difficult to find egg and milk and corn free. These are Progresso Plain Panko and they are safe. Ive seen Panko that is not safe, so just read your labels carefully!
I fry the nuggets in Olive Oil. Nathan can use the extra fat and it makes them nice and crispy. I suppose you could just bake them and skip the fry step. We dont.

I fry them until they get nice and crispy and browned. Only turn them once. Turning them more than once can make them lose alot of their crumb coating. The nuggets usually are not cooked through though. I find if you cook them through, they lose alot of their crumb and get too browned on the outside.
Then I place them on cookie sheets and bake them at 350 F until they are cooked through. Because, nothing ruins your day like eating raw chicken :)
Then I pop the whole cookie sheet into my freezer and freeze the nuggets solid. Once frozen, I remove them from the sheet and place in freezer zip bags to store until needed. I microwave them to heat them for eating.